One of the first steps in setting up a dedicated server is to include a build target specifically for the server version of the game. Since we don't yet have a project for the game, I will use an online template of a simple FPS as a starting point.
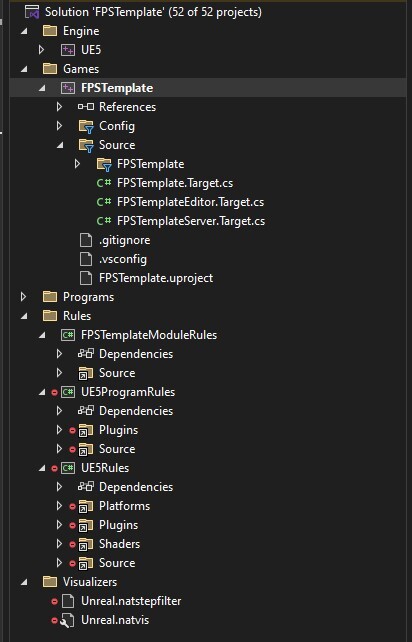
Build targets define the tasks that the project should execute during the build process. These targets can typically be found in the Source folder.
Build targets define the tasks that the project should execute during the build process. These targets can typically be found in the Source folder.
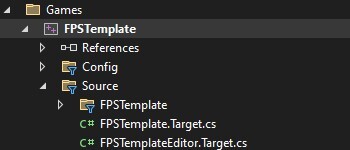
As suggested in the official AWS GameLift guide, the server target file should follow the naming convention: "GameName" + "Server.Target.cs".
The content of the class will be similar to other Target classes, with the main difference being that the TargetType is set to Server.
The content of the class will be similar to other Target classes, with the main difference being that the TargetType is set to Server.
public class "GameName"ServerTarget : TargetRules
{
    public "GameName"ServerTarget(TargetInfo Target) : base(Target)
    {
        Type = TargetType.Server;
        DefaultBuildSettings = BuildSettingsVersion.V5;
        IncludeOrderVersion = EngineIncludeOrderVersion.Unreal5_4;
        ExtraModuleNames.Add("Game Name");
    }
}
With the new file created, A new option called "Development Server" should be available in Visual Studio, after selecting this option, the project can now be built.

However, if a message appears stating, "The selected platform/configuration is not valid for this target," it likely means that the project contains cached, outdated build artifacts that may conflict with the newly created Target class.
To resolve this error, it is required to regenerate the Visual Studio project files by following these steps:
Note: This option may be hidden in newer versions of Windows and might require clicking "Show More Options."
It is now time to rebuild the project in Visual Studio. This time, the error message should no longer appear. Once the build is complete, switch Visual Studio back to Development Editor mode.
To resolve this error, it is required to regenerate the Visual Studio project files by following these steps:
- Close Visual Studio.
- Open the project folder and delete the Intermediate and Binaries folders.
- Right-click the Unreal project file and select "Generate Visual Studio project files."
Note: This option may be hidden in newer versions of Windows and might require clicking "Show More Options."
It is now time to rebuild the project in Visual Studio. This time, the error message should no longer appear. Once the build is complete, switch Visual Studio back to Development Editor mode.

Building the Gamelift server SDK
As suggested in the AWS documentation, several steps are required to integrate the GameLift SDK:
- Install OpenSSL – GameLift uses OpenSSL for encryption and security.
- Build the AWS Server SDK and generate the necessary binary files.
- Integrate the Unreal Server SDK Plugin – Add the required libraries and include the plugin in the Unreal Engine project.