Uploading the Server Build to AWS
Unlike Anywhere Fleets, EC2 Fleets require the server build to be uploaded at the time of creation. To do this, use the AWS CLI with the following command:
aws gamelift upload-build --name <build name> --operating-system WINDOWS_2016 --server-sdk-version "5.2.0" --build-root <path to folder containing the server build> --build-version <server build>This process may take a few minutes as it uploads the build to AWS.
Creating an EC2 Fleet on GameLift
Once the build is uploaded, you can create an EC2 fleet:
- Navigate to GameLift in the AWS Console.
- In the side panel, select Managed EC2 Fleets.
- Click Create Managed EC2 Fleet.
For this test setup, follow these steps:
- Fleet Name: Provide a name for your fleet.
- Select Build: Choose the build that was uploaded in the previous step.
- Fleet Type: Choose c5.large (included in the Free Tier).
- On-Demand Option: Ensure you select On-Demand, as this is included in the Free Tier.
Configuring the Fleet
- Launch Path: Set the path to the executable for the server. Example:
Truffle_Up\Binaries\Win64\Truffle_UpServer.exe- Launch Parameters: Define parameters such as port and log saving:
-port=7777 -log- Port Settings:
- Open EC2 Port settings.
- Set the connection type to Custom UDP.
- Confirm that Port Range is 7777.
- Set the IP Address to be open for all (use 0.0.0.0/0).
Important: Delete the fleet when not in use to avoid unnecessary charges! AWS Free tier grants users 5 days of free tier usage per month, but beyond that, it will cost around £40 per month.
Once configured, the fleet may take up to 30 minutes to become Active.
Creating a Game Session on EC2
To create a Game Session within the EC2 instance, use the following command:
aws gamelift create-game-session --fleet-id fleet-6e192f01-4eb0-4389-ad3c-86f8e9c6f624 --name GameLiftHostedSession --maximum-player-session-count 3 --region eu-west-2Accessing the Game Session
The response will include an IP Address and Port. You can use these to join the session without creating a player session.
In your Windows build, press the tilde (~) key,
then enter:
open <ipaddress>:<port>This will connect you to the game session.
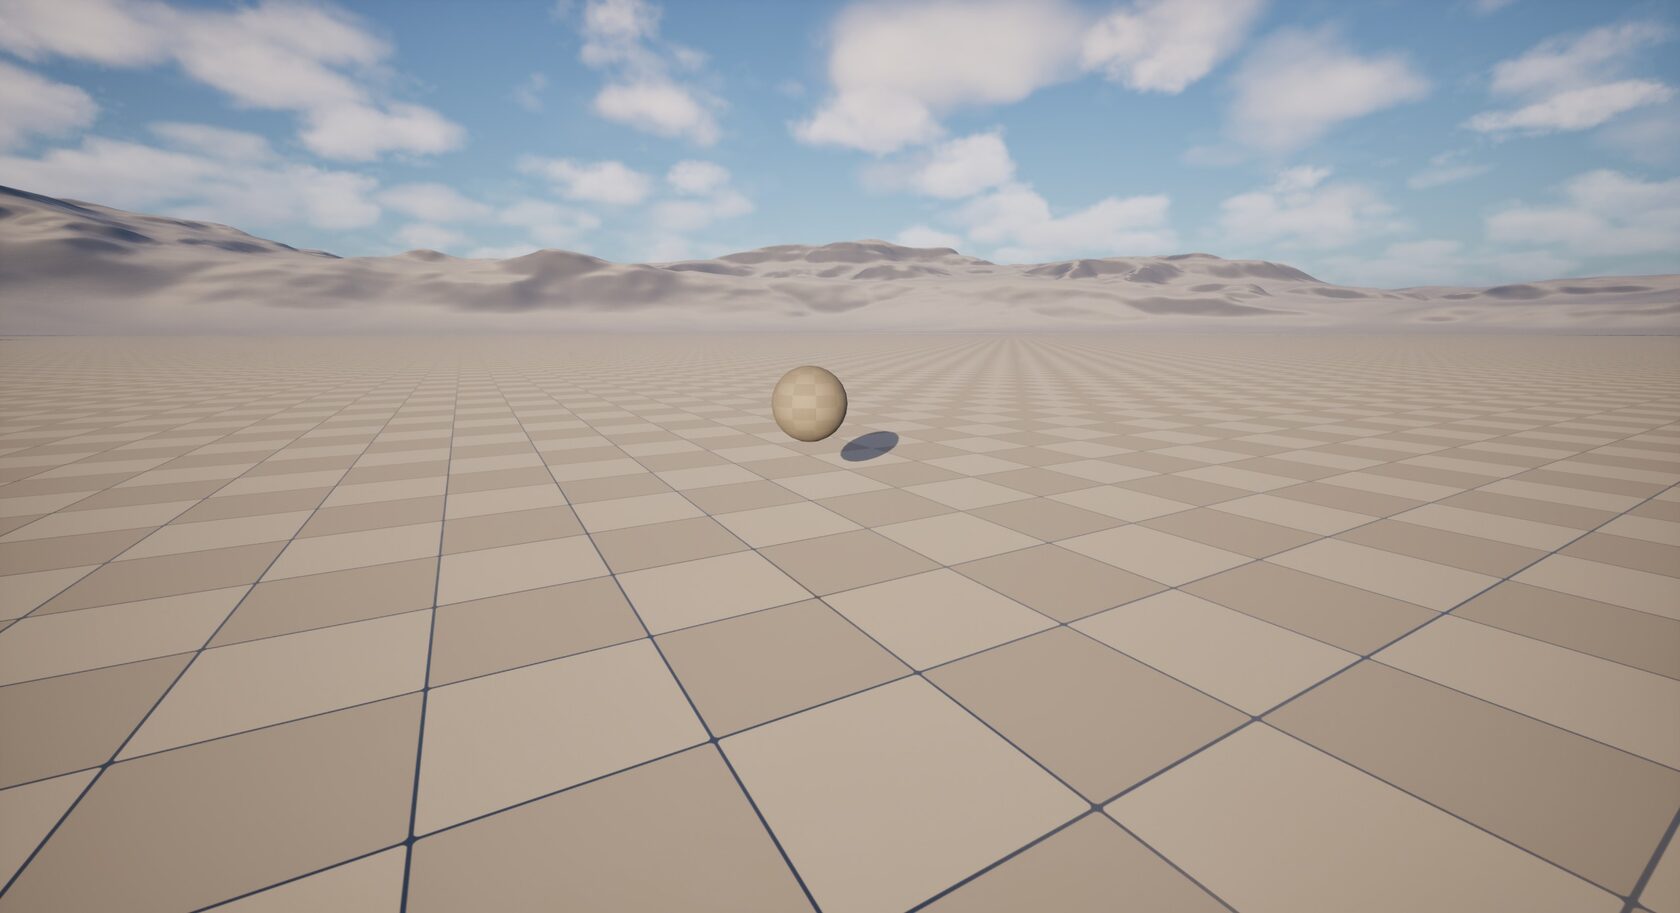
By launching two instances of the game and joining the server as explained above it will be possible to see the other player in the game as shown above