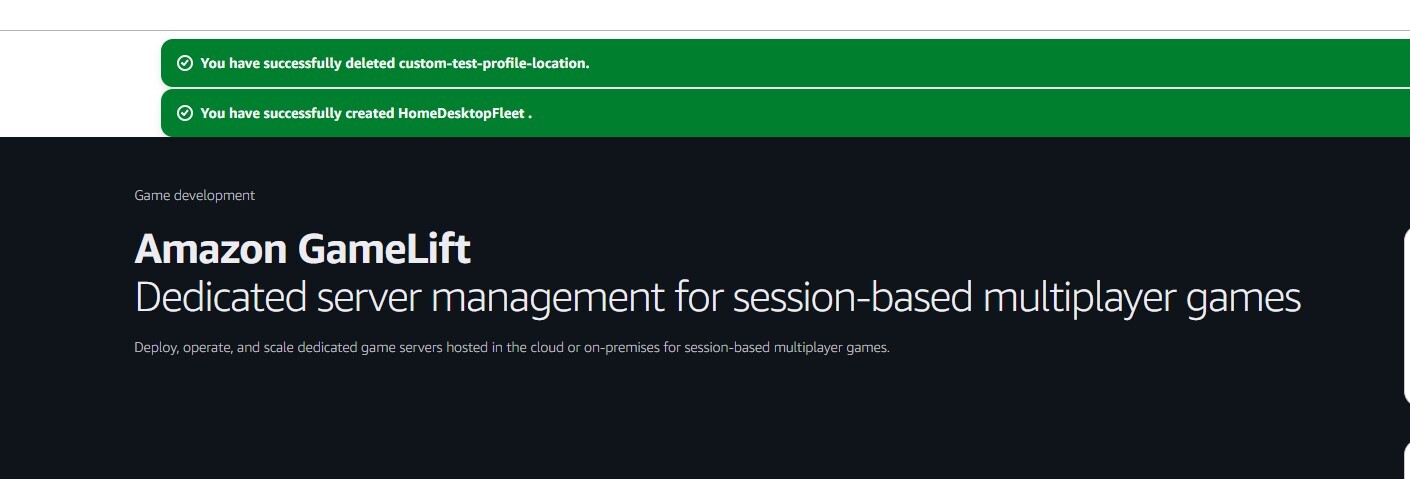
To progress with AWS, it is necessary to download and install the AWS Command Line Interface (CLI) from the following link:
The AWS CLI allows users to execute AWS-specific commands from the terminal, enabling interaction with various AWS services, such as Amazon GameLift.
Example: Creating a Custom GameLift Location
C:\Windows\System32> aws gamelift create-location --location-name custom-test-profile-locationResponse:
{
    "Location": {
        "LocationName": "custom-test-profile-location",
        "LocationArn": "arn:aws:gamelift:eu-west-2:985539776008:location/custom-test-profile-location"
    }
}
Configuring AWS CLI with Your User Account
AWS CLI commands need to be linked to your user account. This can be easily done by following the steps outlined in this guide:
Once configured, you can log in using the command:
aws sso login --profile <username>Setting a Default Profile
Some commands require the user profile to be specified using --profile <username>. However, to avoid adding this flag to every command, you can set a default profile for your session with:
set AWS_PROFILE=<username>Logging Out
When finished, you can log out of your AWS profile using:
aws sso logoutSetting Up an Anywhere Fleet in AWS GameLift
AWS GameLift allows developers to test server environments using their own resources. To achieve this, an Anywhere Fleet must be created in GameLift and linked to a custom location. This guide outlines the necessary steps to set up and run an Unreal Engine dedicated server using an Anywhere Fleet.
1. Create an Anywhere Fleet and Link It to a Custom Location
- Navigate to the AWS GameLift Console.
- Create a new Anywhere Fleet.
- Assign the fleet to a custom location.
- Once the fleet is created, note the Fleet ID for later use.
2. Register Compute Resource in CLI
Before the fleet can use your computer as a server, you must register it as a compute resource via AWS CLI.
Run the following command:
aws gamelift register-compute \
    --compute-name <name> \
    --fleet-id <fleet_id> \
    --ip-address <ip_address> \
    --location <custom_location>
Parameters:
- <name>: A unique name for the compute resource.
- <fleet_id>: The Fleet ID found in the GameLift console.
- <ip_address>: Your computer's IP address (find it by running ipconfig on Windows or ifconfig on macOS/Linux).
- <custom_location>: The name of the custom location created in GameLift.
After executing the command, save the GameLiftServiceSdkEndpoint from the response. This will be used later.
3. Obtain an Authentication Token
The compute resource requires an authentication token that needs to be refreshed periodically. Run:
aws gamelift get-compute-auth-token \
    --fleet-id <fleet_id> \
    --compute-name <name>
Save the auth token from the response, as it will be required to launch the server.
4. Launch the Unreal Engine Dedicated Server
- Locate the packaged server build created in Unreal Engine.
- Navigate to the Binaries/Win64/ folder.
- Right-click the server executable while holding Shift, then select Copy as path.
- Open Command Prompt (CMD) and enter the following command:
"<server_executable_path>" -log \
    -authtoken=<auth_token> \
    -hostid=<host_id> \
    -fleetid=<fleet_id> \
    -websocketurl=<GameLiftServiceSdkEndpoint> \
    -port=7777
Parameters:
- <server_executable_path>: The path to the server executable.
- <auth_token>: The authentication token retrieved earlier.
- <host_id>: The unique identifier for the compute resource.
- <fleet_id>: The Fleet ID from GameLift.
- <GameLiftServiceSdkEndpoint>: The endpoint received during compute registration.
- -port=7777: The port the server will use.
If everything is set up correctly, an Unreal Engine window will open, indicating a successful connection to GameLift. Health checks will run every 60 seconds to maintain the connection.

